
How to Stain Your Fence
Over time, fences can fade or begin to lack aesthetics. To keep up with your neighbors, staining your fence can add curb appeal to your home. Follow these easy steps to stain your fence and compete for the coveted Yard of the Month award.
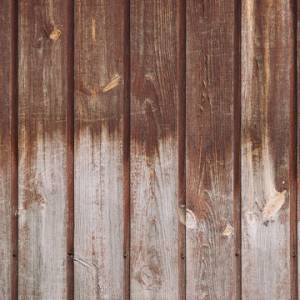
Examine
Before beginning your project, you should closely examine the wood for broken pieces, screws, nails or staples. You need to remove these items to create a smooth surface where you will apply the fence stain. During the examining process, work to create a uniform surface by sanding rough areas. Taking this time at the beginning of your project will save you from headaches later in the process.
Clean
Next, the wood needs to be cleaned so the stain will adhere properly. Apply the cleaner with a soft bristle brush or mop to scrub away dirt, debris and grime.
Stain
After the wood fence has dried, it is time to stain your fence. There are three ways to apply stain: brush, roller or hand-pumped sprayer. Choose your method and apply an even coat of stain to the surface of your fence. During this process, brush the areas where the stain puddles to ensure it dries properly.
 Rest
Rest
This step may be the easiest. Once you finish staining your wood fence, allow the product to rest for optimal color. Depending on the weather and humidity in your area, the fence may need to rest up to 48 hours.
Enjoy
Celebrate your newly stained fence with a block party, family BBQ or a quiet afternoon spent enjoying the outdoors. Your new fence will stand out in the neighborhood and add appeal for potential buyers in the future.
Texas Fence and Iron specializes in residential and commercial fencing. Our projects are completed with aesthetics in mind. Learn more about our company here.
Add Comment